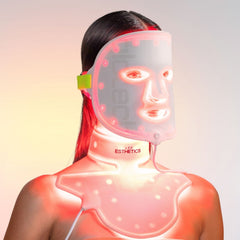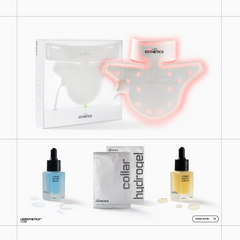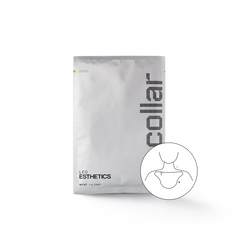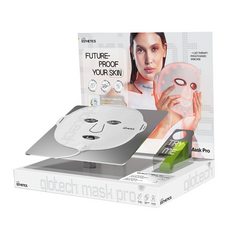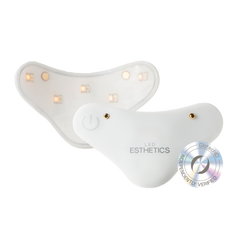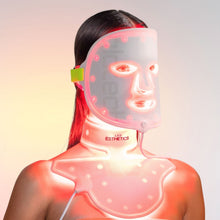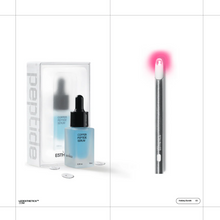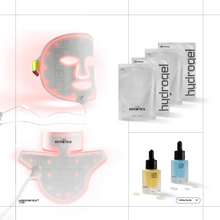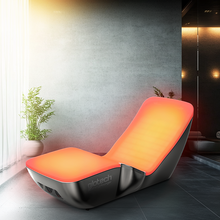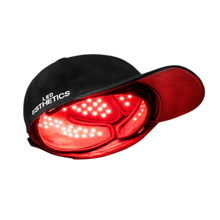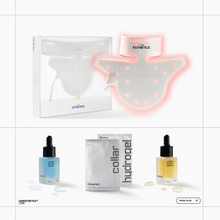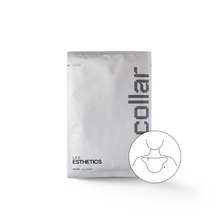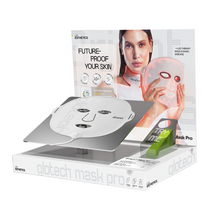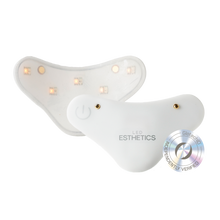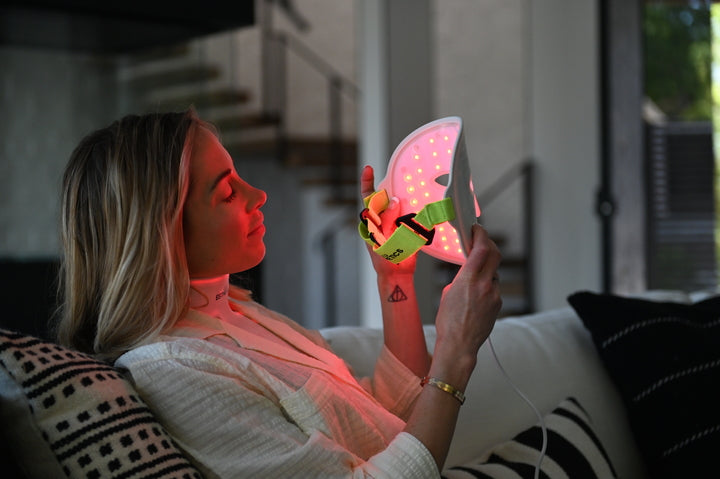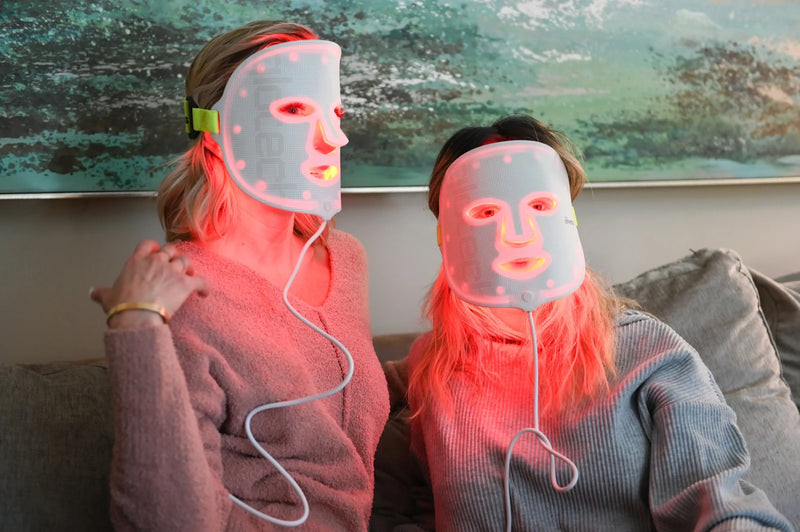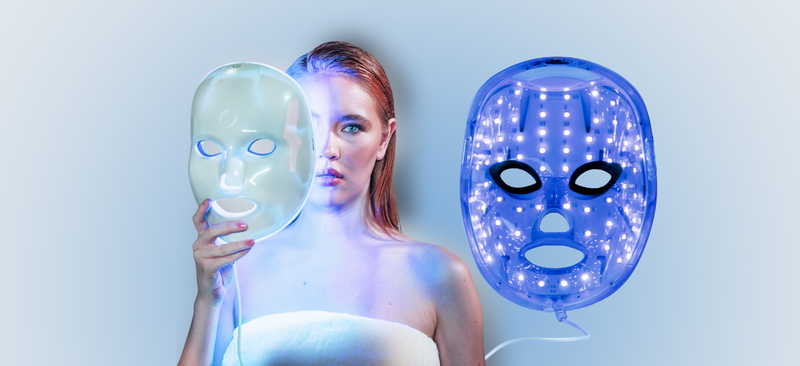
Creating a skincare routine that works for you can feel overwhelming, especially with the countless products and treatments available today. However, one emerging trend that's taking the beauty world by storm is LED light therapy . Known for its versatility in treating various skin concerns, LED light therapy can be a game-changer when properly integrated into your daily routine.
.
But how do you incorporate this powerful technology into your regimen while ensuring it complements your existing skincare products? In this guide, we’ll walk you through the steps to build the perfect skincare routine with LED light therapy, and how to get the most out of your Glotech™ devices .
Step 1: Identify Your Skin Concerns
.
Before diving into LED light therapy, it's essential to identify your skin type and the specific concerns you want to target. Are you struggling with acne, fine lines, hyperpigmentation, or dry skin? Understanding your skin's needs will help you choose the right LED light wavelength and optimize your routine.
.
For instance:
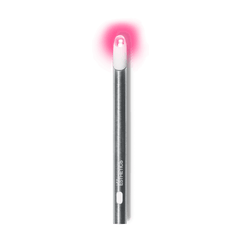
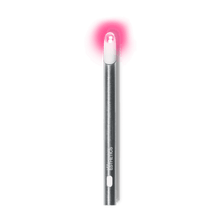
Red light is ideal for anti-aging, improving collagen production, and enhancing skin elasticity.
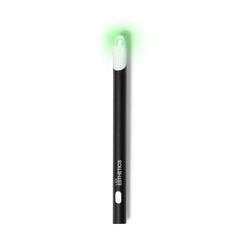
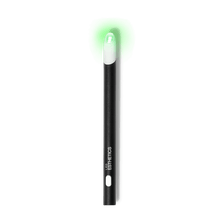
Blue light works best for acne-prone skin, targeting bacteria that cause breakouts.
Near-infrared light penetrates deeper layers of the skin, reducing inflammation and promoting overall skin healing.
.
To customize your skincare routine based on your specific skin type, check out our detailed guide on Glotech™ Routines: Maximizing Benefits for Every Skin Type.
Step 2: Cleanse Your Skin
.
Like any skincare routine, start with a clean canvas. Cleansing your skin removes dirt, oil, and makeup, ensuring that the LED light therapy can penetrate the skin effectively. Choose a gentle, non-abrasive cleanser that suits your skin type. Avoid harsh scrubs that can irritate the skin, especially if you're planning to use LED light therapy afterward.
.
It's essential to cleanse your skin both morning and night, but particularly before using LED therapy, as this ensures the light reaches your skin without any barriers.
Step 3: Use Red Light Therapy (Carefully with Retinol)
.
One question many people ask is whether they can combine powerful ingredients like retinol with LED light therapy. The short answer is yes—but with caution. Red light therapy works beautifully to enhance collagen production and reduce wrinkles, but when paired with retinol, you need to be mindful of timing.
.
Retinol increases skin sensitivity to light, so it's crucial to use them in combination correctly. Typically, you should apply retinol at night and perform your red light therapy session during the day to avoid overstimulation. For a comprehensive guide on this, take a look at How to Safely Use Red Light Therapy with Retinol.
Step 4: Apply Active Ingredients Before and After LED Light Therapy
.
What you apply to your skin before and after your LED session can significantly impact your results. Certain ingredients are proven to work well with light therapy, while others can reduce its efficacy. For example:
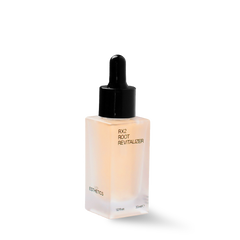
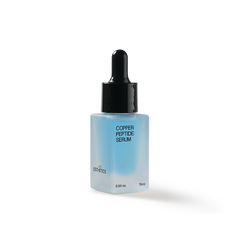
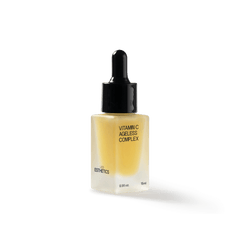
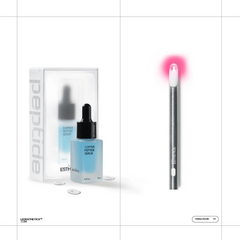
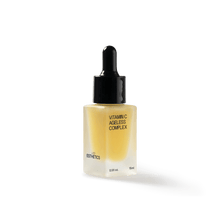
Vitamin C and peptides are excellent choices before LED therapy, as they work in synergy with light to boost collagen and improve skin texture.
Hyaluronic acid can be applied afterward to hydrate and soothe the skin.
.
However, avoid products containing benzoyl peroxide or exfoliating acids before using LED therapy, as they can disrupt your skin’s barrier and decrease the effectiveness of the treatment. To learn more about which ingredients complement LED therapy and which ones to avoid, read 3 Skincare Ingredients Proven to Supercharge LED Treatments and 2 That Will Sabotage Them.
Step 5: Incorporate LED Therapy Into Your Daily Routine
.
Consistency is key when it comes to LED light therapy. For the best results, make sure you're using your Glotech™ device regularly. Many people wonder how often they should be using LED light therapy, and the answer largely depends on your skin concerns and the type of device you're using.
For anti-aging benefits , red light therapy can be used 3-5 times per week.
For acne treatment , blue light therapy may be used daily for persistent breakouts.
.
Incorporating your LED therapy into your existing routine is simple. For example, you can perform your session after cleansing in the morning or night, followed by applying your serums and moisturizers. Check out our detailed guide on How to Incorporate LED Light Therapy in Your Daily Skincare Routine for tips on building consistency into your regimen.
Step 6: Layer Your Skincare Products Properly
.
To get the most out of your skincare routine, the order in which you apply your products matters. Here's a basic structure to follow:
Cleanser : Start with a clean face.
LED Light Therapy : Perform your session after cleansing.
Toner : Apply a hydrating toner to prep your skin for the next steps.
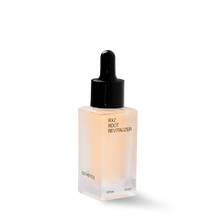
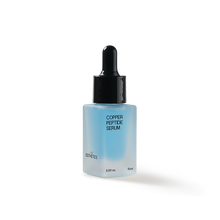
Serums : Layer on active ingredients like Vitamin C or peptides that pair well with LED therapy.
Moisturizer : Lock in hydration with a suitable moisturizer for your skin type.
.
Sunscreen : Always finish your morning routine with SPF to protect your skin, especially if you’ve used red or blue light therapy.
Step 7: Choose the Right Device
.
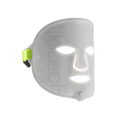
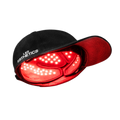
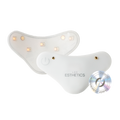
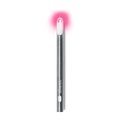
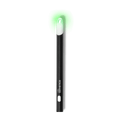
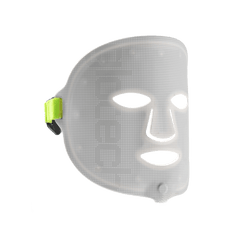
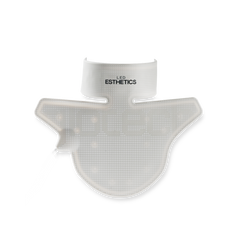
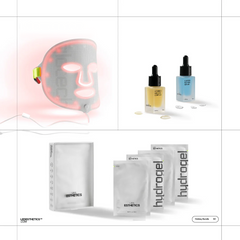
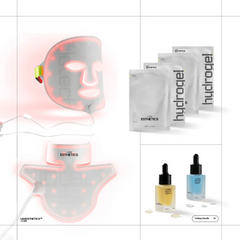
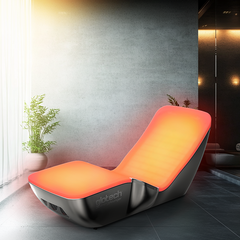
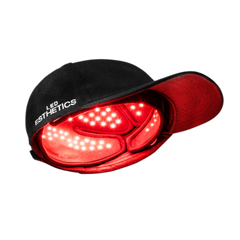
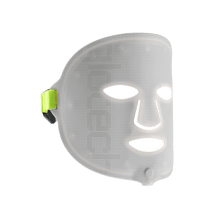
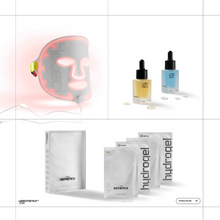
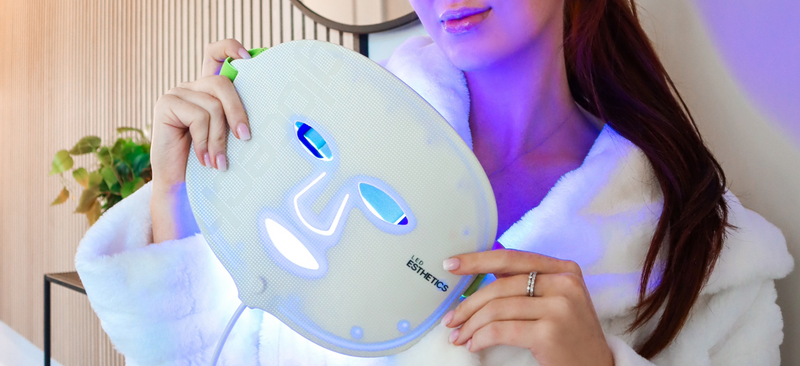
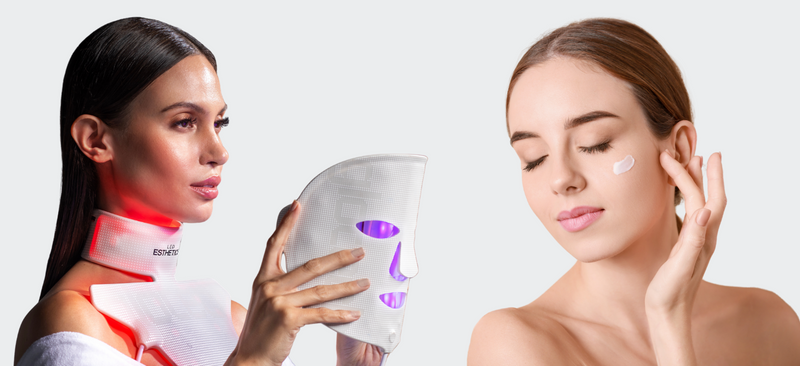
Not all LED devices are created equal. When selecting an LED light therapy device, it’s important to consider both the quality and wavelength of light it emits. At LED Esthetics , we offer devices designed for home use that deliver professional-grade results, like the Glotech™ Lite and Glotech™ Pro.
.
For those just starting out, the Glotech™ Lite is an excellent option, offering a compact and effective solution for everyday use. Learn more about why the Glotech™ Lite is a great addition to your skincare routine in Why Glotech™ Lite is the MVP of Your Skincare Routine.
Step 8: Be Patient and Consistent
.
While LED light therapy is highly effective, it’s not an overnight fix. Like all skincare routines, consistency is crucial. Stick to your routine, and over time, you’ll start to see the benefits in the form of smoother, clearer, and more radiant skin.
.
Typically, results from LED light therapy start to show after 4-6 weeks of consistent use. For those targeting deeper skin concerns like fine lines or acne scars, more prolonged use may be necessary. Remember, skincare is a marathon, not a sprint.
Step 9: Monitor Your Skin's Response
.
As you incorporate LED light therapy into your routine, be mindful of how your skin responds. If you notice increased irritation or sensitivity, it may be a sign that you’re overusing your device or combining it with incompatible products. Always listen to your skin and adjust your routine as needed.
.
Regularly assess your skin’s condition and feel free to tweak your routine as new concerns arise. If you’re unsure how often to use LED light therapy, consult with a skincare professional to tailor the routine further.
Conclusion
.
Building the perfect skincare routine with LED light therapy is all about understanding your skin’s needs and making thoughtful choices about the products and treatments you use. When done correctly, this combination can work wonders for a wide range of skin concerns, from acne to aging.
.
Whether you’re new to LED light therapy or looking to enhance your existing routine, be sure to incorporate the steps we've outlined above. With the right approach and a commitment to consistency, you'll soon discover just how transformative LED light therapy can be.
.
To dive deeper into integrating LED light therapy into your regimen, check out How to Incorporate LED Light Therapy in Your Daily Skincare Routine and enhance your routine for optimal results.
.
